RSS Feed
 Twitter


 10:20
10:20
 Unknown
For my first blog post, I thought i'd put up something practical. Part of the reason of creating a blog was to share my knowledge of the hobby with a wider community. Since most, simple painting questions can be easily researched on the internet, I thought i'd encourage everyone out there to run before they can walk, and offer some advice to improve your skills; no matter
how advanced they may be.
So, here's how you create a simple wet palette.
Things you need:
Tin pencil case (any lid would do. try tuppa ware for an easy alternative)
Tissues
Baking paper, or greese proof paper,
Masking tape
Scissors

What is a wet palette?
A wet palette is a painting surface that will increase the longevity of your paints. It also helps with blending, creating washes and keeping custom mixed colours keep for longer. It is possible to keep paints wet for days after mixing if a lid is attached (however i've never achieved this).
Tutorial:
Get your tin (I used an old, touristy, pencil case given to me for christmas) and tear the top off. Be careful taking this off, as the hinges can often break and leave sharp edges that can easliy cut you. Have an adult help, even if you are thirty: make a friend and let them take the risk. We want the lid.

Line the lid with tissue paper, and wet it. You don't want the tissue to be dripping wet, but you want it more than moist.

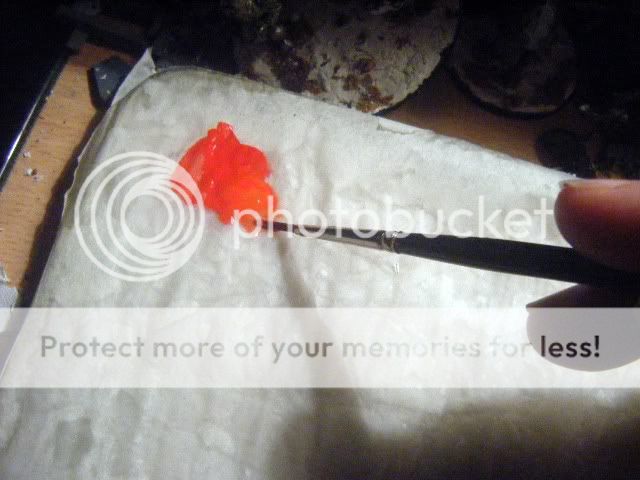
Place the grease proof over the tissue. Run your finger over the top of it to bed the paper down. I secured the paper with some masking tape, however this isn't really necessary if you cut the paper to sit inside the 'lip' of the tin.

Voila! Wet palette. Now get painting.