Games Workshops latest range of
Hobby Tools has courted quite a lot of controversy amongst the online community. Amid this fractious debate,
Liquid Green Stuff introduces something rather unique to modelers who are only familiar with Citadel products. The following review will attempt to discern what this strange product is used for, how it can be used and if there are any cool techniques you can now use with your models.
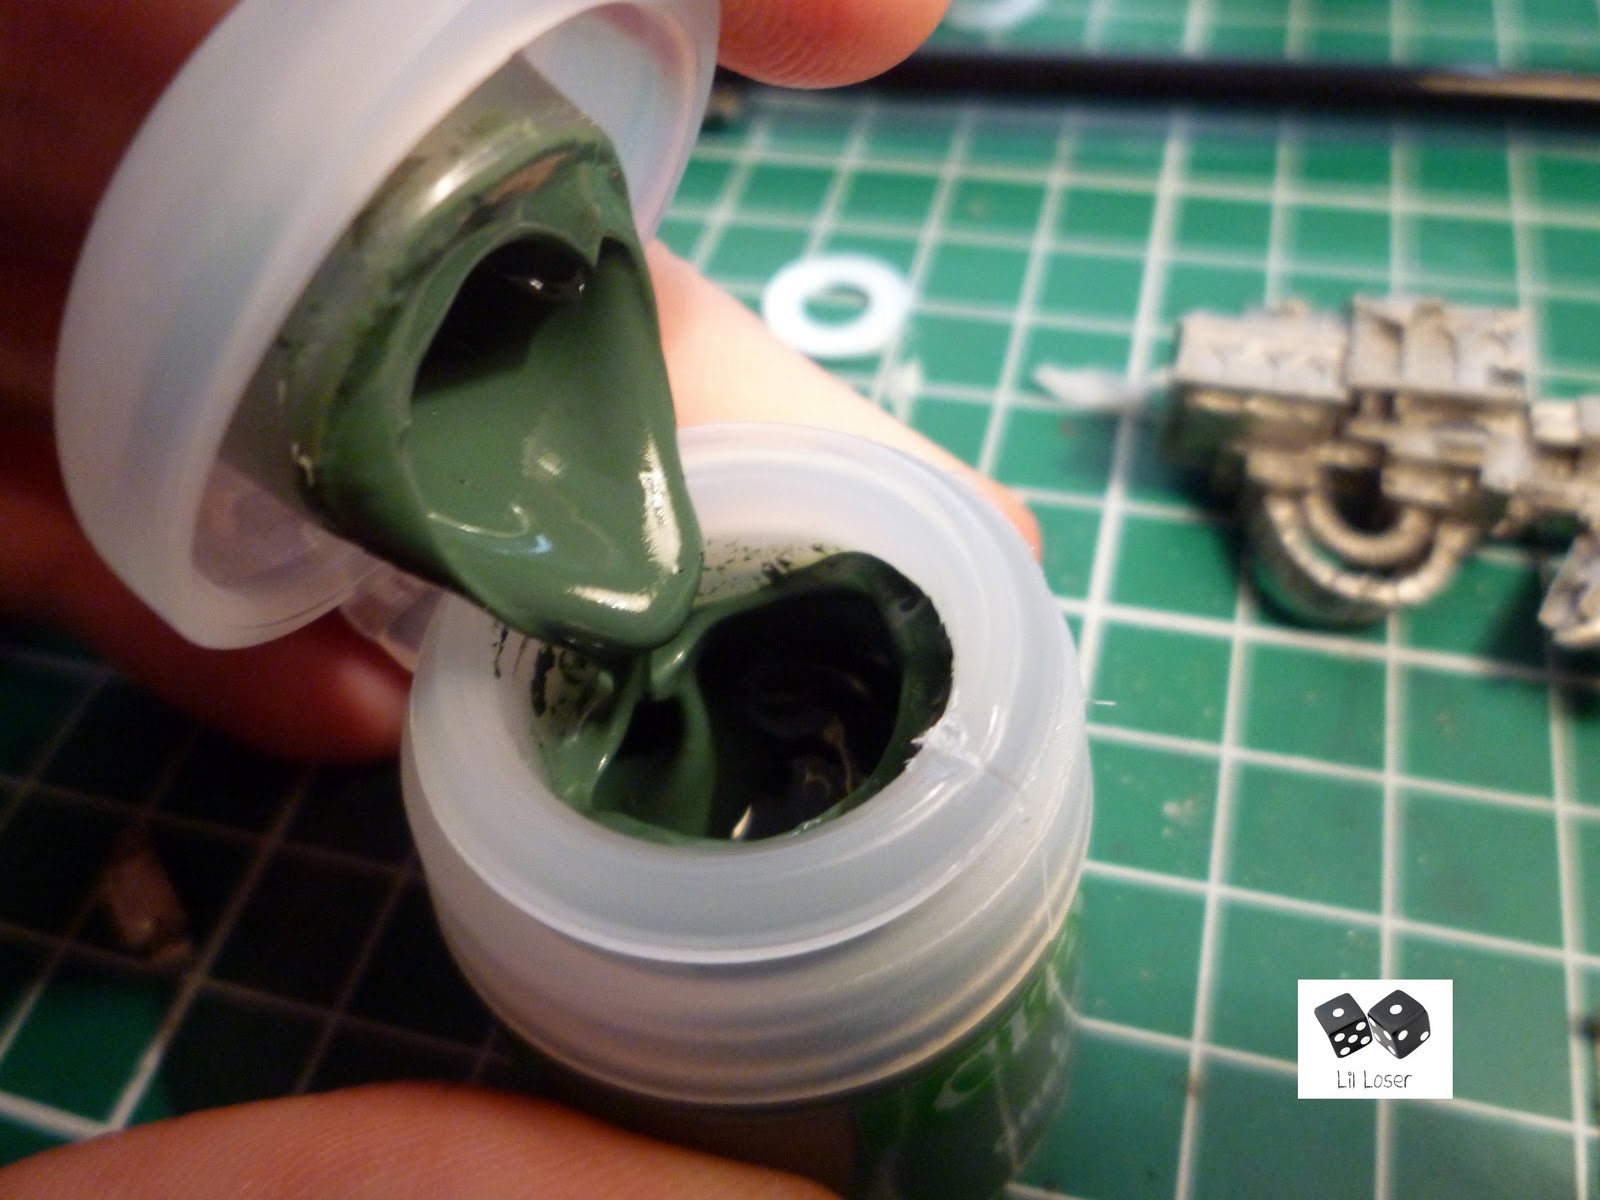
When using this product, I would urge you to use a palette. Because of the pot design, you will be exposing a proportion of your liquid green stuff every time you open the pot, and will dry. Take little amounts at a time, put it on a palette and close the lid securely. To apply Liquid Green Stuff, GW suggest using a paint brush because the putty is water soluble. I had my doubts about this, and I would suggest using a synthetic brush for the application rather than your finest kolinsky sable. However, the putty did indeed wash out using water, leaving now discernible residue. Make sure you clean your brush regularly during the procedure not to allow any putty to dry in the bristles.
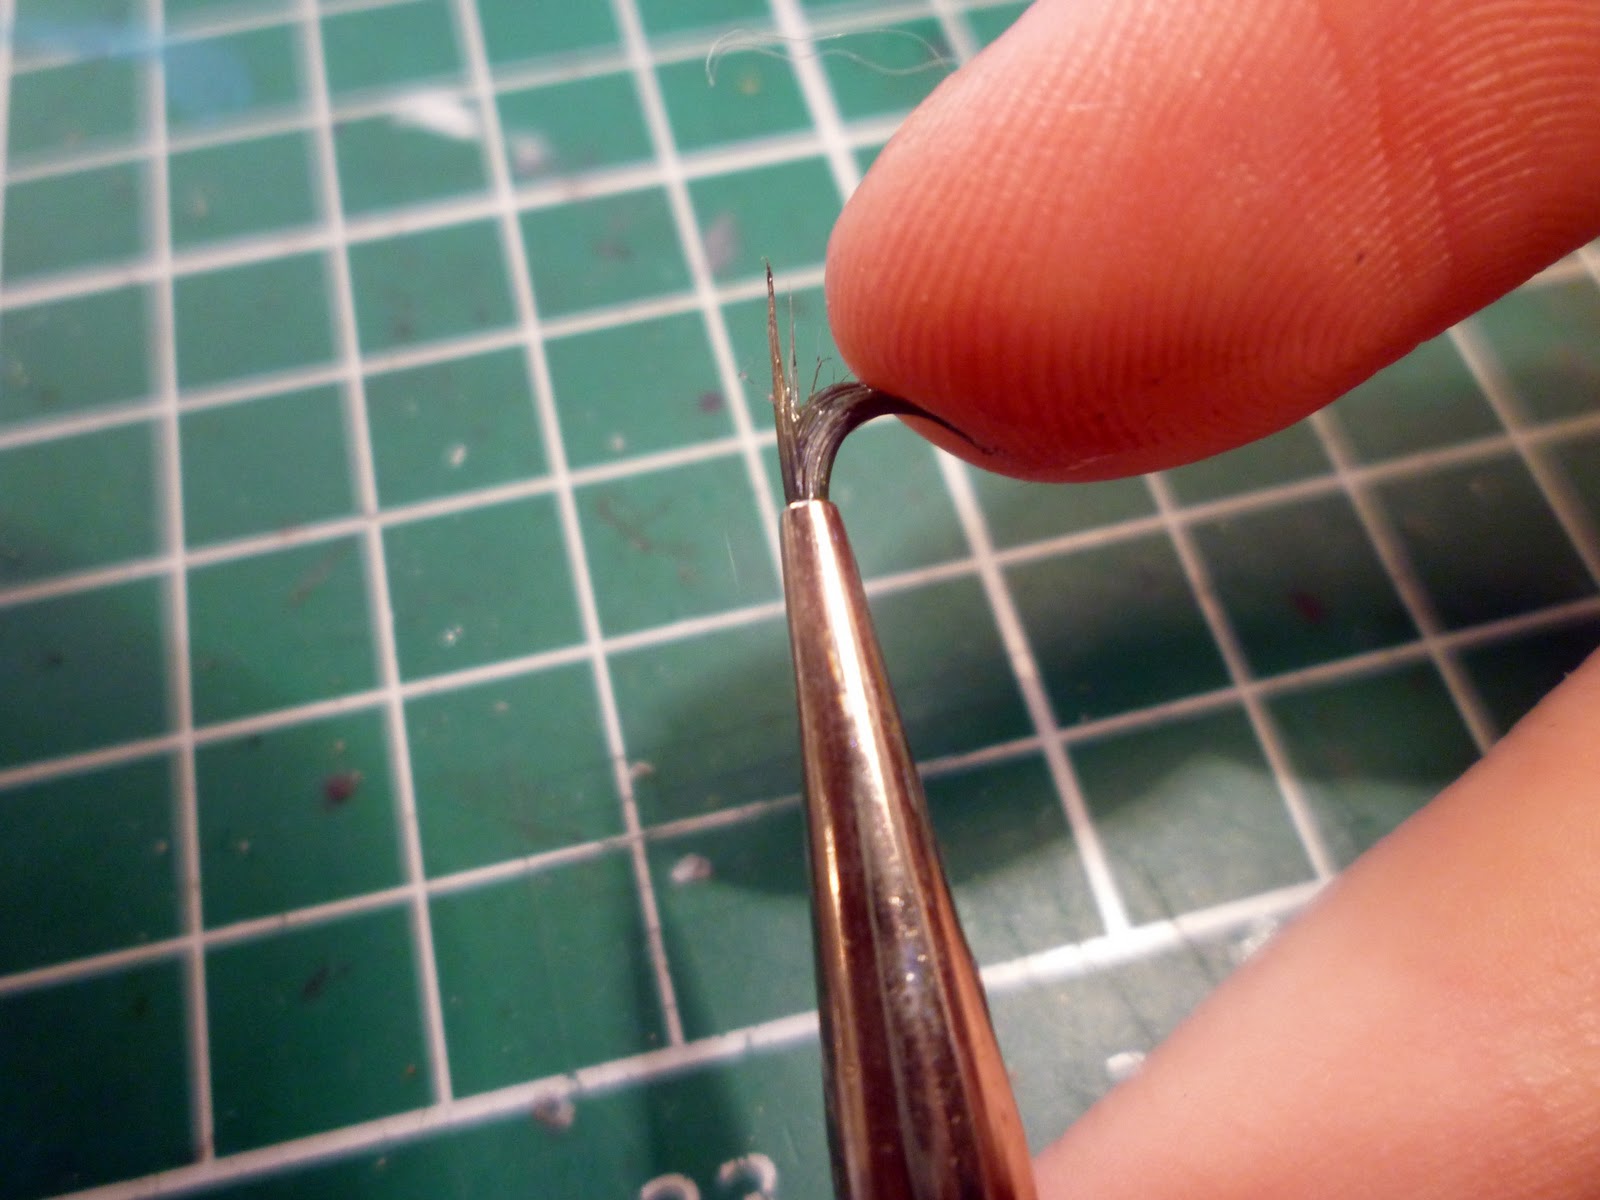

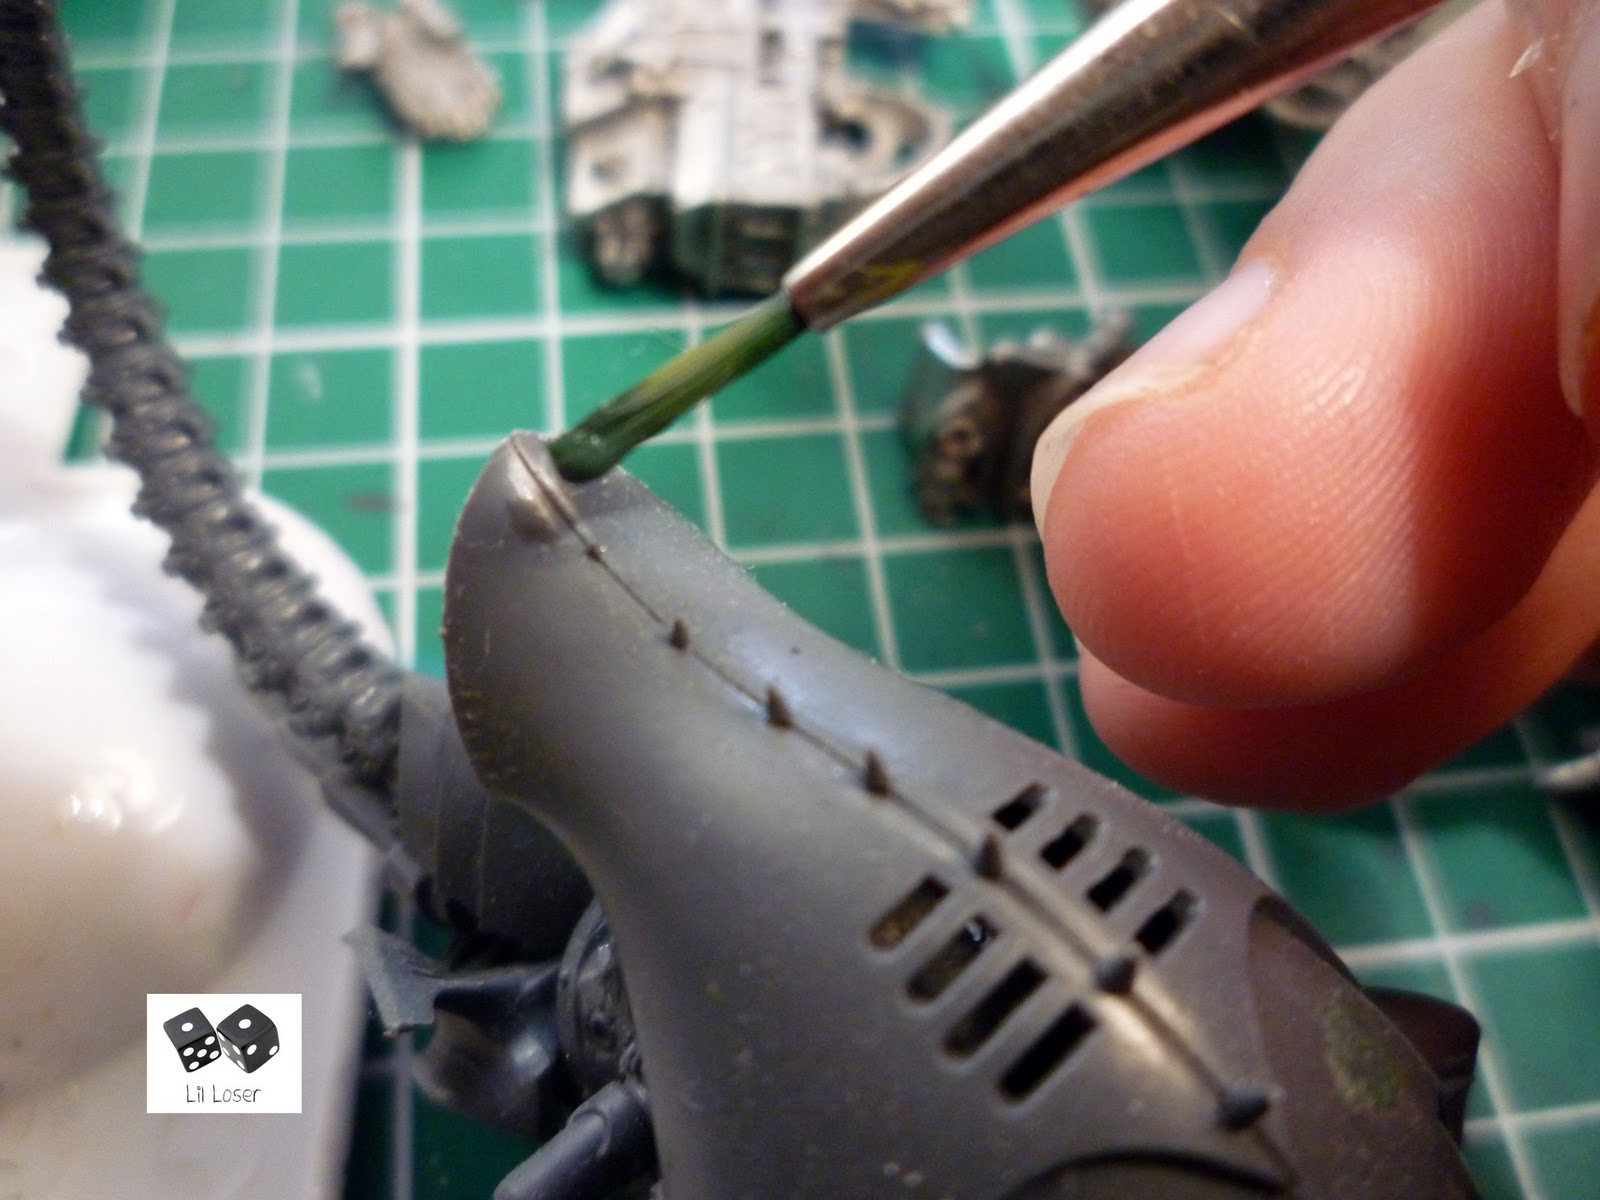
So, what does this stuff handle like? What is the consistency of the green stuff? Is it really no better than PVA water? When opening the pot, and running a brush through it, I found that it felt roughly equivalent to toothpaste. It is very easy to thin down with water and I had no problem smoothing it onto the surface of my Talos. I had no problems with it adhering to the surface of the plastic hull. It needed no special preparation or consideration. The liquid putty is not sticky by any means, but I do not foresee any problems with it not sticking to a surface. When dry, it is slightly powdery and thus unsuitable for casting (I know, I thought that this stuff would be ideal for creating parts, but alas no).
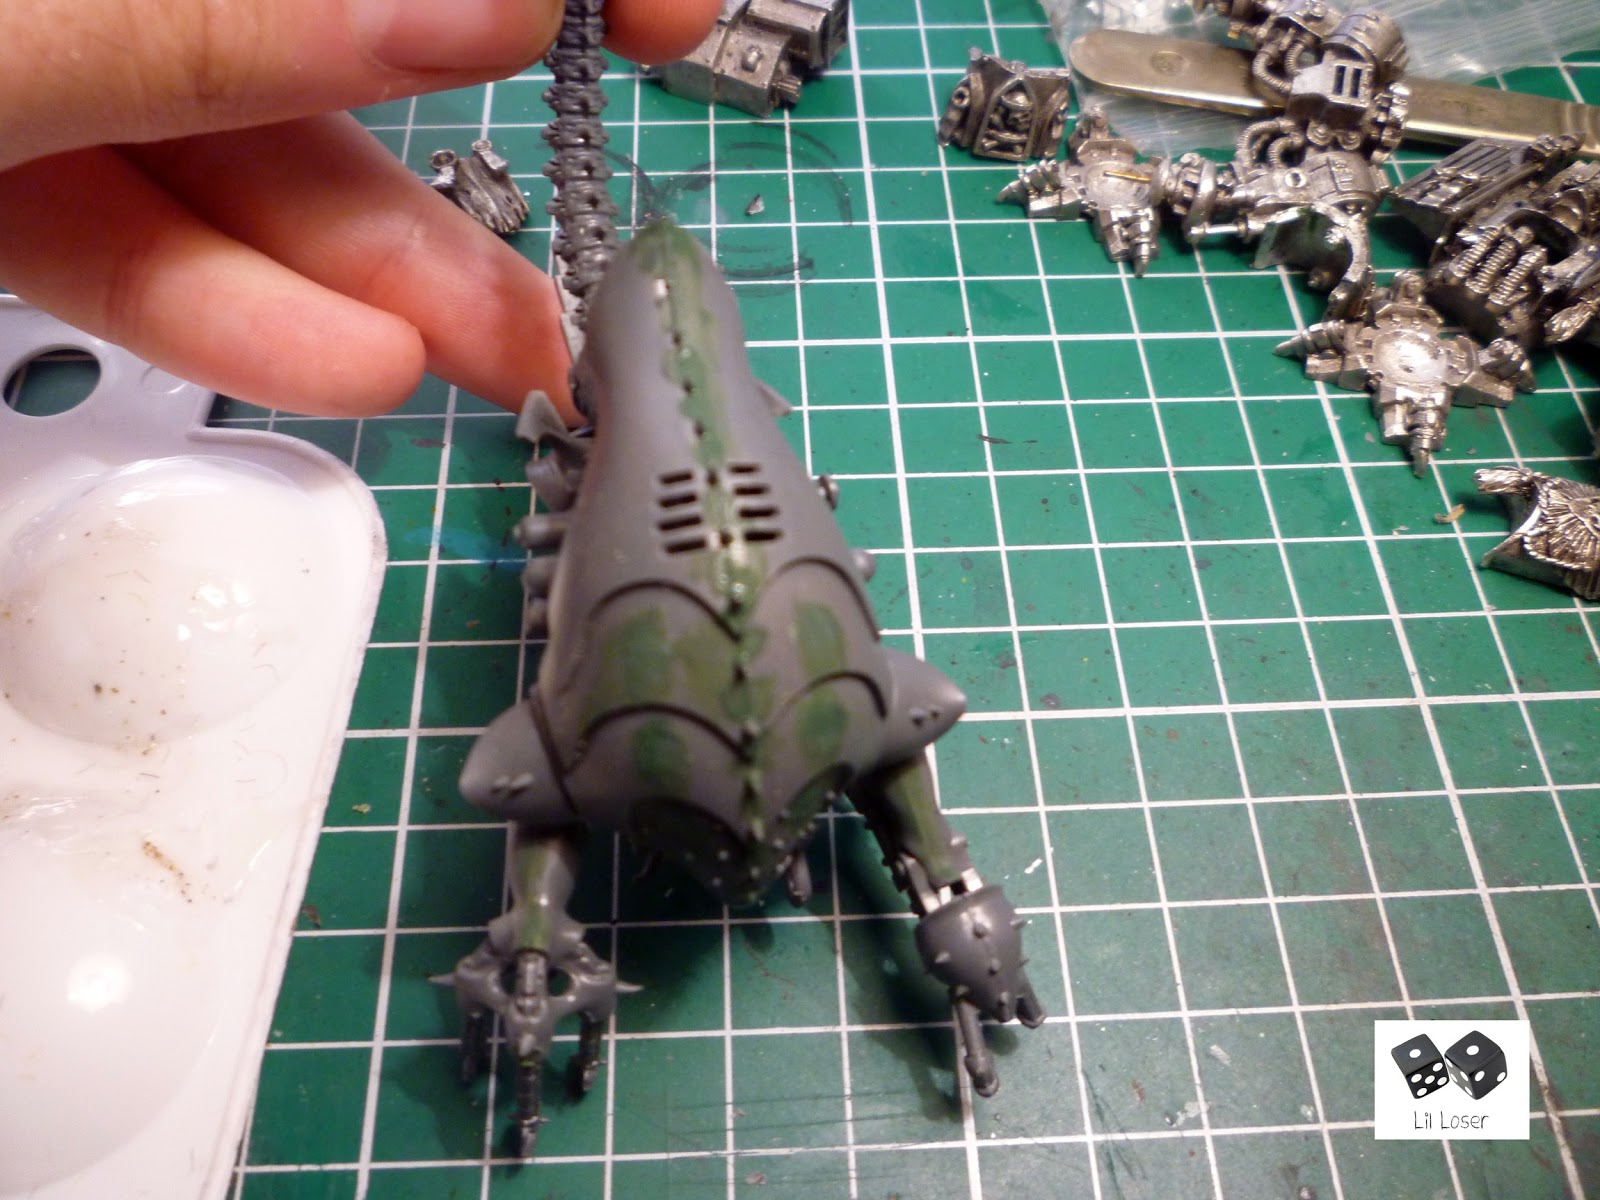
Taking a blob of undiluted liquid green stuff, I smoothed it onto the gap on the hull of the Talos. I found that I needed a little water to help it off the brush and onto the plastic. A little bit of water will help you create a smooth finish.
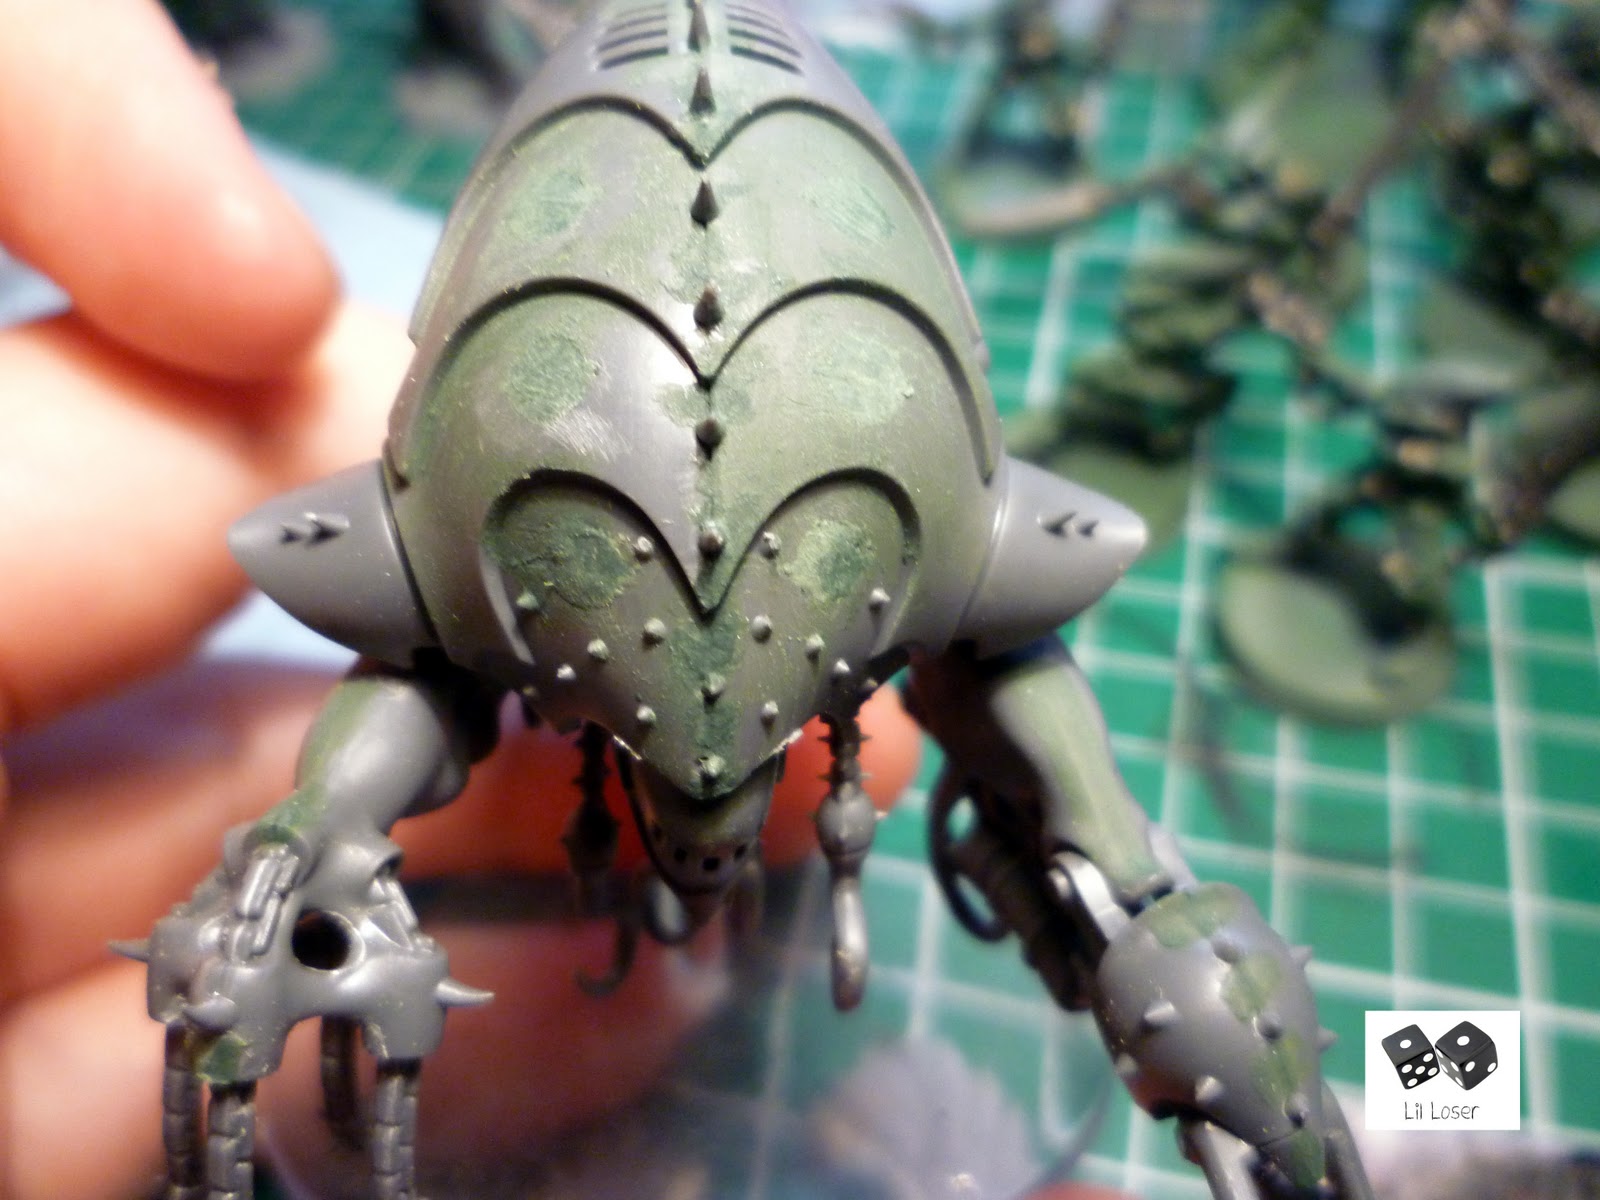
The above images are of the Talos after one pass of the liquid green stuff. The next step was to file over it and repeat the process until the gap had disappeared. I would suggest using very fine grain wet and dry sandpaper (2000 - 4000 grade) to create the smoothest finish possible.
After a few passes with the liquid green stuff the gap has all but disappeared. I also gave the hull a very thin layer of liquid green stuff to buff out any small scratches caused by my filing. I found that the liquid green stuff has a working life of around three minutes. After this it seems to separate and clump together.
Even though I have used a brush for this article, I would recommend using a soft nosed
clay shaper for detail work and smoothing. Old paint brushes tend to have splayed bristles that do not lend themselves easily to detail work. Clay shapers were created to mimic the texture and pressures that can be exerted by the human finger, and would be perfect for any type of detailed putty work you wish to pursue. The rubber tip will not fray, you can get to hard to reach places with smaller shapers and you don't need to worry about ruining the bristles of your brush.
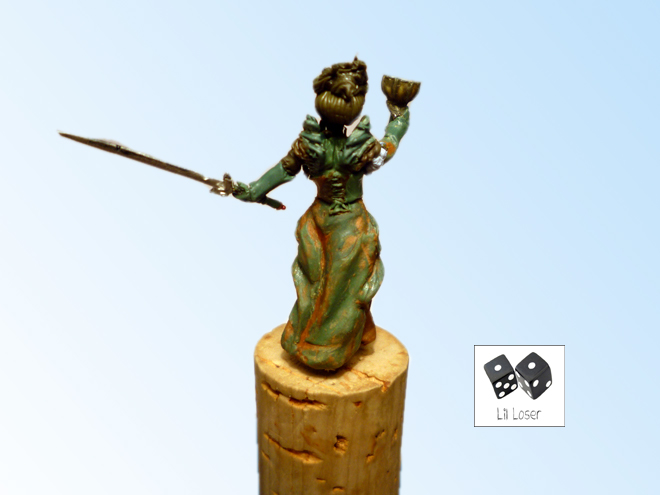
Another use for this putty I can think of is to replace the mulliput wash technique. This technique is where a lump of mixed milliput is thoroughly mixed water until it is the consistency of a wash, then applied to a scratched or uneven surface to create a smooth finish. I find that I have to use this technique whenever I sculpt a large smooth surface (such as armour, or cloaks) and hairline cracks appear in the putty. Having, what is essentially, a pre-made batch of milliput wash available to me all the time is priceless.
If you have Milliput and liquid green stuff, why not combine the two? Many sculptors have custom blends of different putty ranges to yield different qualities. For example, I have found combining Green Stuff with Milliput yields a putty that has some of the elasticity of epoxy putty, but can by smoothed and diluted with water for sharp lines. Try mixing a little liquid green stuff and Milliput, or magic sculpt wash to produce a putty that can easily fill gaps and is easier to sand. If you do this, I urge you to only mix up small quantities and work fast. Liquid Green stuff only has a working life of around three minutes whereas mulliput's is normally around the hour, hour and a half bracket.
Another interesting technique I have read is adding a little chalk dust to the Liquid Putty to make the cured putty easier to sand. I know that in order to fill gaps people use a mixture of superglue and bicarbonate of soda; try replacing the glue with some Liquid Green stuff in the combination.
Alternatives
Vallejo produces a product very similar to Liquid green stuff called
Vallejo Plastic Putty. Vallejo's plastic putty comes in a 17ml bottle and is slightly cheaper. I would argue that even though you get more putty for a cheaper price from the Vallejo equivalent, the main reason why you should buy this over GW's product is the bottle design. GW's much maligned paint pot design disadvantages this new product greatly. When opening the pot, you are exposing quite a lot of the liquid green stuff to the air - not good when the product is an air drying medium.
Milliput wash gives you a very cheap and excellent alternative that can be filed, sanded and manipulated in a solid or liquid state. The drawback is that it is a pain to mix up and difficult to use; I'd rather pay for the convenience of having a product readily available.
Squadron Green's Green Putty, recommended by the writers of the Imperial Armour Masterclass book, and use this in a similar way to Liquid Green Stuff. Green putty is supplied in a 65g tube (like oil paint) and offers the best value for money versus quantity you buy (shipping costs may stop this being true). The disadvantage of this product is that it is toxic and quite pungent.
For the last word in heavy duty pro-modeling, there is
Mr Surfacer which can sanded easily. There are three grades available (500, 1000, 1200; the higher the number, the finer the granules) but is lacquer based and gives off some pretty wicked fumes.
In conclusion...
Because of the acrylic nature of Liquid Green Stuff, this material does not lend itself well to sanding. Let me stress that Liquid Green Stuff can be sanded, but much like its bigger brother, once cured the green stuff will bobble and scratch when filed and does not create a smooth finish without a thin layer to finish the job. This product is ideal for filing in those annoying mis-aligned joints, imperfections in sculpting smooth surfaces and eradicating any unwanted depressions.
I think that part of the reason GW is getting such a negative response to this product is due to it being marketed as a fix for fine cast. If it were simply marketed as a filler for those inevitable gaps that appear in model construction, I think people would be generally more accepting of it. The frustrations surrounding fine cast will colour peoples perceptions of any product they release alongside it.
Overall, an exceedingly useful tool to have in the arsenal. Liquid Green Stuff is a great product that is let down by GW's awful paint pot design and price when compared with its competitors. Like many of GW's modeling range, this product that will act as an introduction for many people to cheaper alternatives of the same quality available through other companies.
LilLoser
 RSS Feed
 Twitter


 13:20
13:20
 Unknown


