For just over a year I have been keeping a recipe book of colours and technique that I use to paint my miniatures. With some of the more complicated methods, such as true metallic metal (TMM) armour, I have been photographing each stage so that I can accurately re-create any effect I create. I have a habit of flitting between projects, so it is easy to forget every stage used when painting a model. This can become a huge problem when a colour scheme is needed across an entire army.
For the first episode of this infrequent series I would like to present the recipe I use for my TMM Dark Eldar Kabal. Becasue this is just a recipe book focusing in on particular techniques, I will not write up how I complete every stage on the model. This article is concerned with how I created the TMM armour.

I tend to keep meticulous notes on each stage I paint on a model now, as well as note down any difficulties I had. TMM Dark Eldar presented a challenge I have been trying to overcome since I painted a TMM ultra marine as an experiment. Unlike non metallic metals (NMM) it is very hard to control the highlights on a surface because of the metallic pigment in the paint. I think that the the most important part of advice I could impart is to highlight up to mithril silver in the early stages, then no more. Once the model has been highlighted with the lightest silver paint you have, concentrate on glazing and inking shadows to achieve the overall result you wish. The highlight is already there after stage 3; from here you are re-introducing colour to the base coat.
This may come as a break in the unusual way you paint your war gaming miniatures, and requires an adjustment in the thought process of how you colour your model. There is no substitute for practice, so try this first on a test model, then adjust the process as you see fit.
Stage 1: Basecoat
Basecoat black and dust white (dusting is a technique where you spray the model with white primer at a 45 degree angle on top of a black basecoat: I will cover this in a future tutorial).
Method: VMC Light Turquoise, Citadel Dark Angels Green, VMC Oily Steel (60:10:40)
Make sure this coat is even and consistent.
Stage 2: 1st highlight
Highlight all armour plates with mixture given above but with a touch more oily steel, leaving the recess between the plates. This enforces the silver pigment, and the recesses will become more pronounced when we start to shade him.
Stage 3: Glaze
Wash entire model with:
Citadel Asrumen Blue, Citadel Dark Angels Green, Citadel Black Ink (80:15:5).
I added VMC Glaze Medium to help break up the Dark Angels Green, but Thrakka green would work just as well. I only used it because I had some green left over from the last stage. Don't use too much black as this would really make the model look dull.
Stage 4: Final Highlight.
Add Citadel Mithril silver to the first mixture of:
Method: VMC Light Turquoise, Citadel Dark Angels Green, VMC Oily Steel (60:10:40)
and start highlighting the plates as you would a normal model. Introduce more mithril silver until you are highlighting with pure mithril silver.
NO MORE HIGHLIGHTS!
Stage 5: Shading.
I wash the armour 4-5 times with:
Citadel Asrumen Blue and Citadel Tharkka Green (80:20) or with pure Asrumen blue of Thrakka green.
Be selective with the area's you choose to shade, do not blindly wash the entire model. Start shading the model from the recess' of the armour and 'dragging' the wash with your brush to the extreme edges of the armour.
Do not shade the extreme edges and after a few shades, you will see that your model is taking shape.
Stage 6: Black Lining.
I found that I could not get a satisfying contrast between the armour plates using blue and green washes alone. So, for the very deepest recess', I used black ink mixed with the above washes, then an extreme shadow of pure black ink to separate the armour plates.
And here is the finished product:
A brief note on the purple: It may look rather unusual because of the metallic colour itself. In some light the model is bluer, in others, it appears slightly greener. Underneath my daylight bulb the model appears greener (out of interest, what colour would you say this model is?).

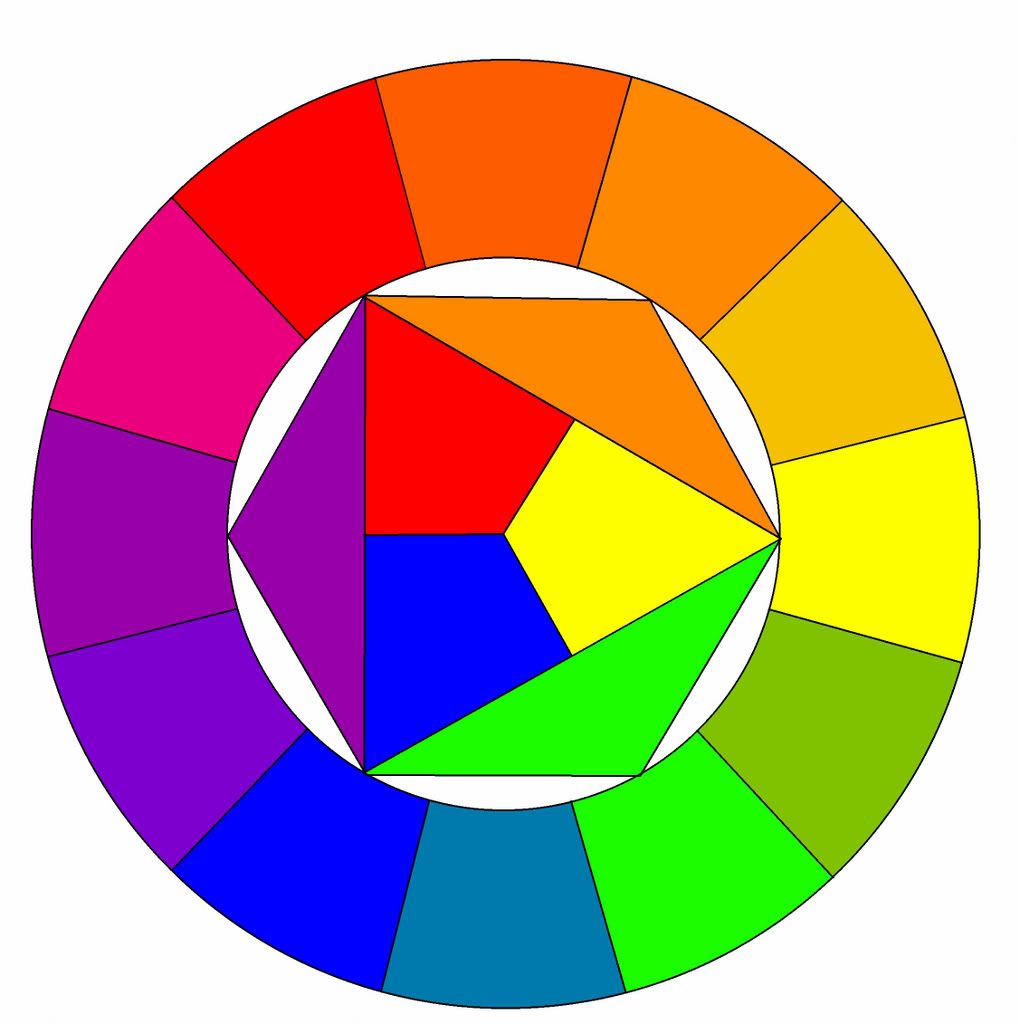
If we take a quick look at the colour wheel we can see that green is further away from purple, than blue is. Underneath my daylight bulb the purple contrasts the colour more than it would be when the model was viewed underneath another light.
I have also used this purple inspired by the front cover of the Dark Eldar book.

Give it a whirl, try different colours and experiment. If you have found this useful, or better yet tried this out on your own model, please get in touch. I'd love to hear your thoughts and see your pictures.
All the best,
LilLoser
 RSS Feed
 Twitter

 13:07
13:07
 Unknown


 Posted in


0 comments :
Post a Comment