Give this build some thought if you plan on buying the talos kit or three. If nothing else, it will help you create an individual Talos pain engine, breaking up the pattern if you intend to use more than one.
Here is the first part of my alternate Talos build:
Assemble Talos as instructed until stage 4.
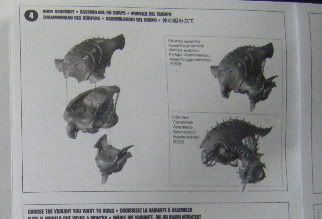
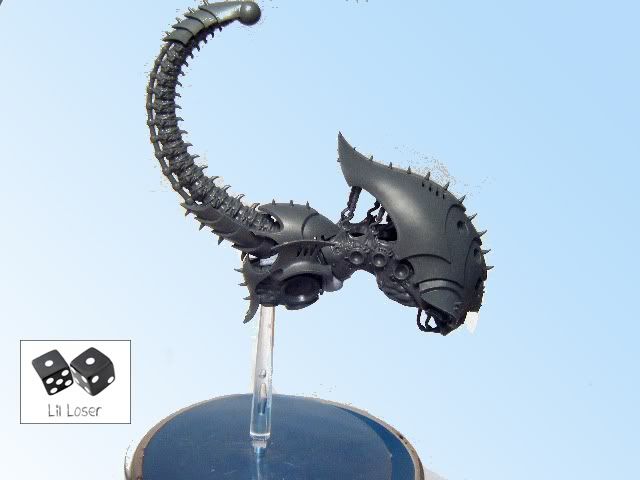
Do not attach hip as shown. Instead, pivot the hip 180 degree's and glue torso to where the 'tail' should go:
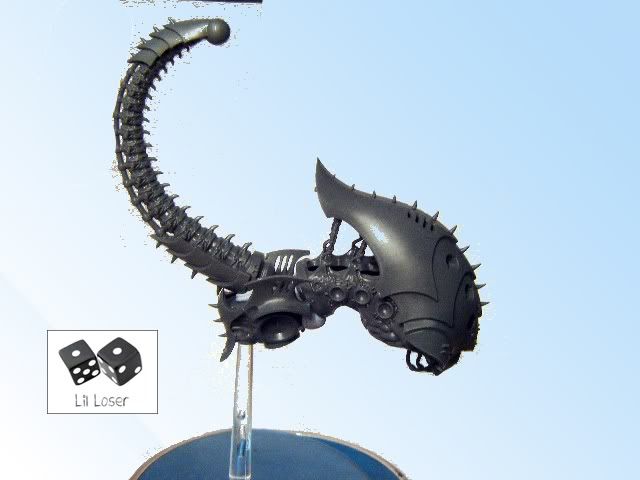
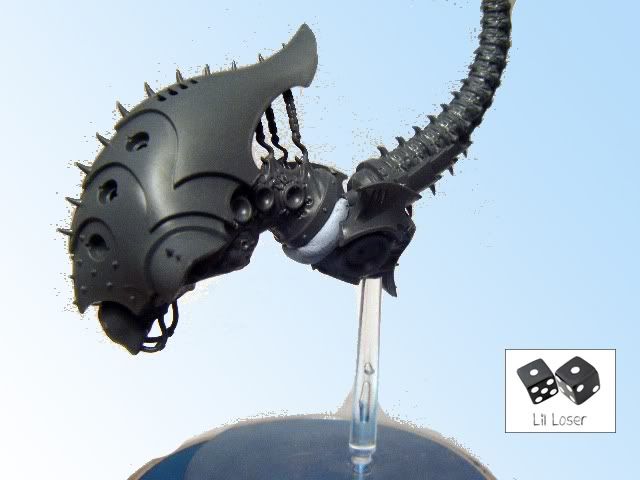
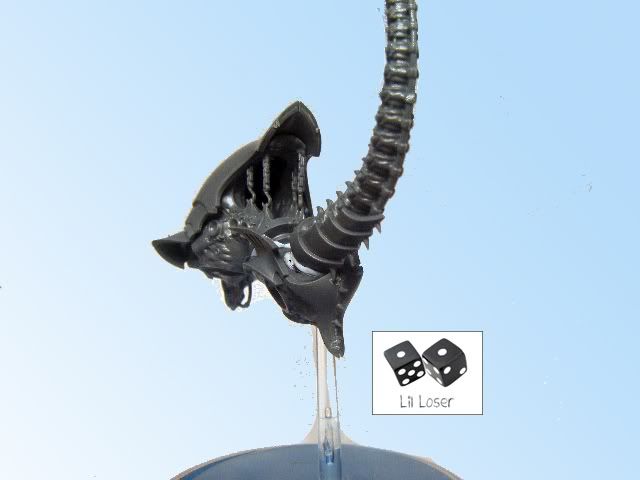
NOTE: Above model is blu tacked only. This gave me the chance to see how the model would look with a slanted tail. There is quite a gap between the tail/stinger and the torso, adequately filled in by this little jem of a piece: The Telson (pg 37 of this months white dwarf, piece no.49)
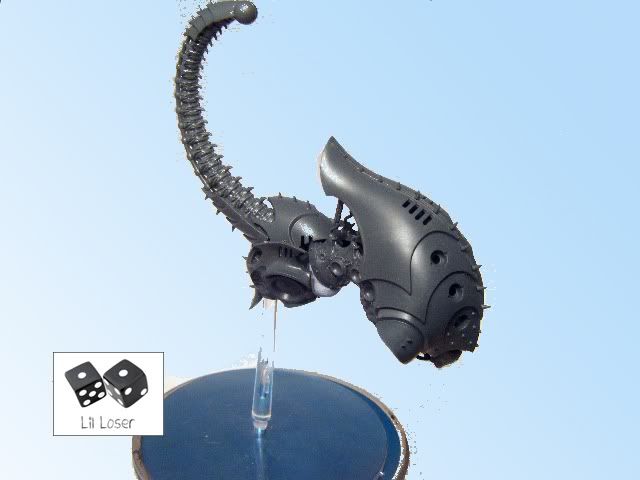
Already I think I'm off to a good start. I'll have another play with the kit tomorrow and see what I can do with the arms.
LilLoser
 RSS Feed
 Twitter

 12:47
12:47
 Unknown
 Posted in


0 comments :
Post a Comment